
Welcome back to Camellia Designs!
Lately I have noticed that shirring has come back into fashion and brands are featuring this sewing technique into tops, skirts and dresses. Personally I have been obsessing over crop tops that feature this technique for some time now, they are just so cute and perfect for summer! So I thought why not give it a go?
What you will need:
- Fabric
- Elastic thread – I bought one that had 30m so I have heaps left over
- Sewing machine
- Scissors

What to do:
Bodice
Measure you bust and double this measurement plus 1.5cm seam allowances. This may seem like a lot of fabric but trust me it does shrink down when you start the shirring!
Measure the width of what size crop top you want, I went with 27cm plus 5mm seam allowance’s.
Cut out the rectangle pattern that is your bust measurement.
My rectangle: 175cm x 28cm

An easy way to cut out the rectangle is fold your fabric in half and divide the bust measurement by 2, mark out the rectangle on the fold so when it is cut out it doubles.
Finish off the edges what a zig zag or over lock stitch.
Before I started shirring I wanted to finish of the hems so I have a clean finish and not trying to complete this when the fabric is ruffled.
I did a 5mm hem to create this clean finish.

Do not use your machine to fill the bobbin with the elastic thread. The machine will pull the elastic too tight around the bobbin – this is to be done by hand. Very important!

Once you have hand threaded the bobbin insert into your machine like normal.
I wanted a frill at the top of my crop so I started to sew a straight line 3cm from the top of the crop. I then continued to sew lines that were 1.5cm wide.
Quick tip – I used my footer as a guide for the width as I did not want to mark out all those lines.

Carefully pull on the fabric so it is not gathering whilst you are sewing. This also makes sewing in a straight a lot easier.


Make sure you check your bobbin after each row to make sure you have enough for the next row. I did 13 rows and refilled once.

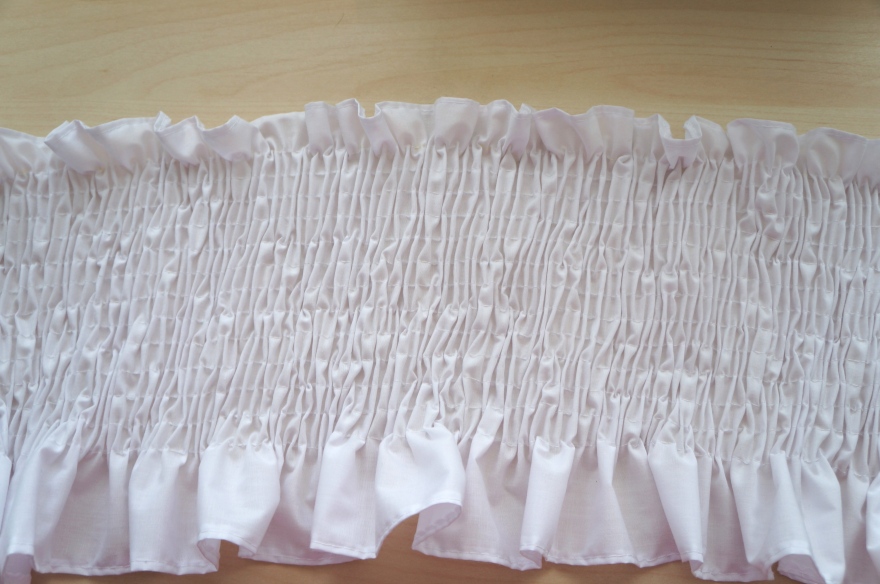
I stopped shirring once I had 6cm left so I could have a larger frill on the bottom.
Pin right sides together leaving a 1.5cm seam allowance.

Straps
Cut out four rectangles that are 54cm x 8cm this is including 1cm seam allowances.
Fold rightsizes together and sew a 1cm seam allowance.


Use a safety pin to turn the strap inside out.
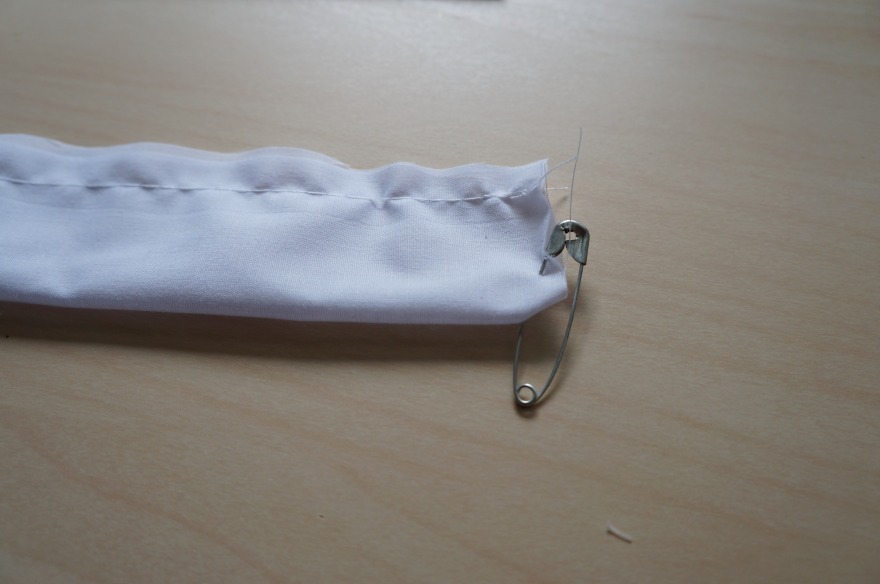
For the ends I folded in 1cm of the fabric and stitch it closed.

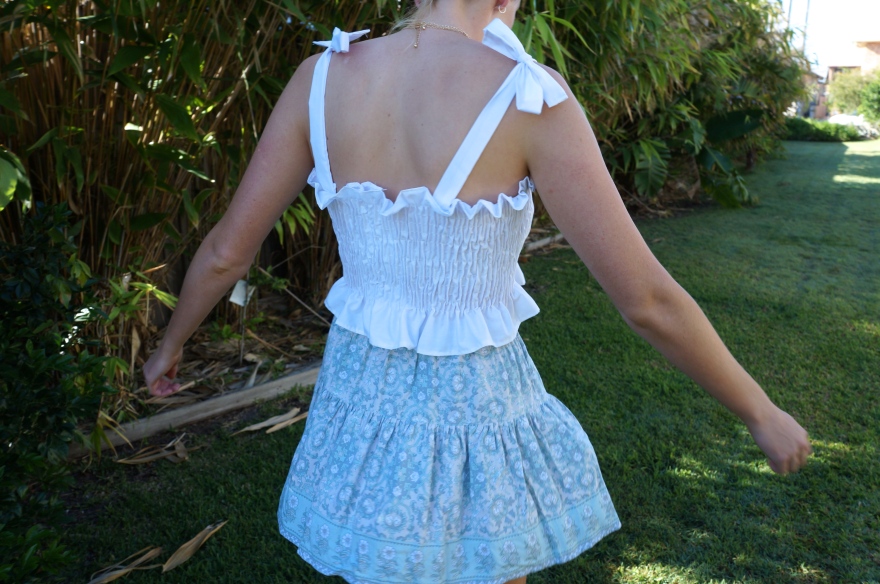
Iron the straps and put your top on. Work out where you want the straps and sew along the top line of the shirring once pinned into place.

Now its complete! How easy was that? and only a fraction of the price compared to fashion retailers.
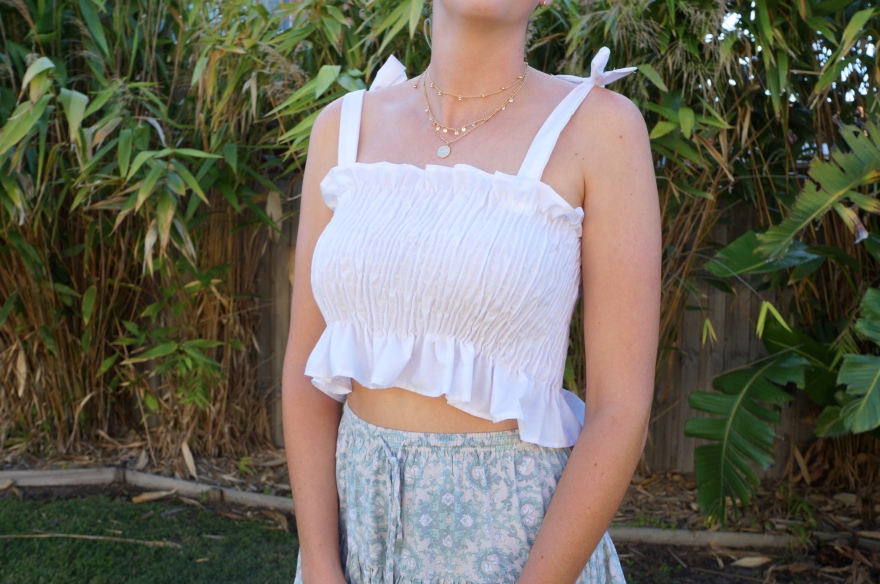


I loved how simple and quick this top was to create! Be sure to keep an eye out as I am now obsessed with shirring and will be creating some more DIY projects in the near future.


This is great. Me and my mum have been wanting to try this for a while.
LikeLiked by 1 person
I hope you give it a go! I’m addicted now!
LikeLike